
"What do I always say? Anyone can cook!"
(Ratatouille; 2007)
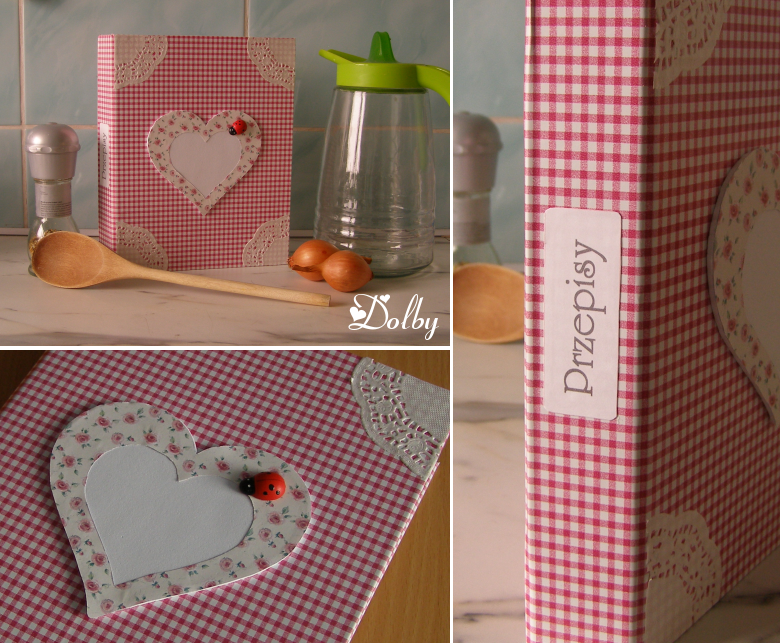
 I have seen many ideas for recipe notebooks but none of them met my needs. They often were made of regular school notebooks which discredits their practicality in a kitchen environment… It’s common knowledge – kitchens get messy during work and the paper cover would get covered with greasy stains in no time. Besides, I really don’t like having a limited number of pages ‘cause any additional recipes would have to be kept loose. Therefore, I want to show you a new generation of recipe notebooks – with a 100% washable cover, with adjustable number of pages and with recipes easily sorted by type. Basically, with every feature I look for in such notebooks. I’m going to donate four of those notebooks to a charity fair in my town.
In this tutorial I used a self-adhesive oilcloth, which is 100% waterproof and washable..
difficulty: medium
estimated time: 1-2 hours
You need:
- a small file binder (A5)
- self-adhesive oilcloth
- a refill pad (A5)
- construction paper
- scraps for decoration
- white glue
- scissors
- pen or pencil
- a ruler


1. Put the open file binder on the back side of the oilcloth and mark the points where its corners are. Then add 2 cm on each side and cut out the rectangular shape.
2. Cut the corners off – the line must go through the marked points, you don’t need to do this at an exact angle.
3. Put the file binder on the cut piece of oilcloth and mark the width of its spine in the half of the length of the cut shape. Cut two triangles there – their top should touch the folding point of the cover (see picture 3). Do the same on the other side.
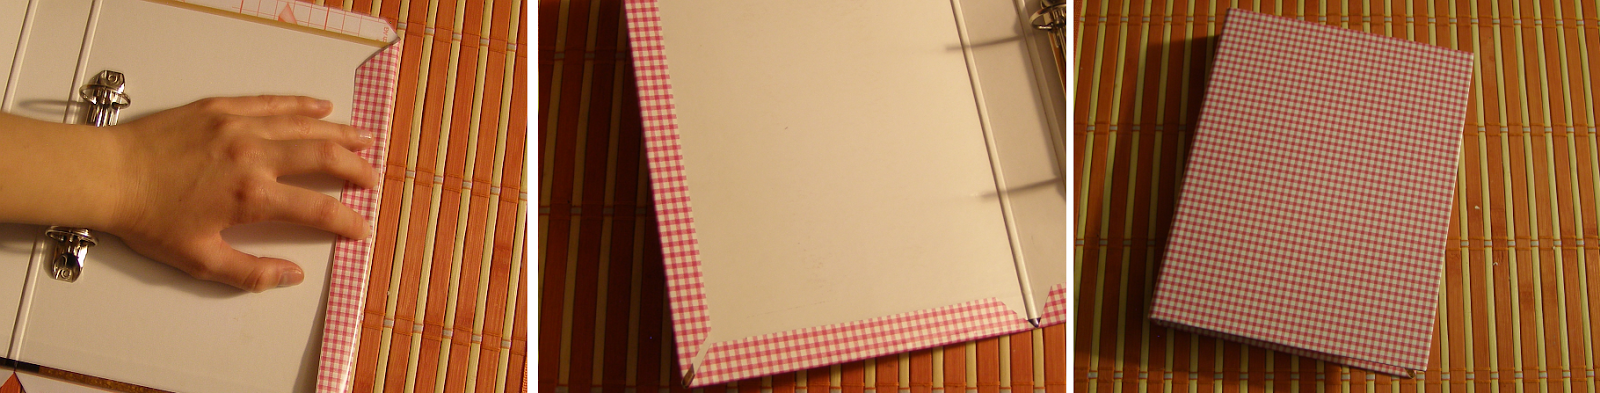
4. Fold the wings to the inside and then, removing the protective layer little by little, stick the oilcloth to the binder. Be careful not to make any air bubbles underneath.

5. On the construction paper, measure two rectangles – their size should correspond to the inner side of each part of the cover (minus 0.3-0.5 cm for better look). In one of them make a gap for the binder’s metal holder.
6. Glue them to the both parts of the inner side of the cover. You can also stick a strip of the oilcloth on the inner side of the spine.

7. Decorate the cover as you wish.
8. Put the refill pad into the binder and our notebook is ready. You can also make some personalized file dividers for each type of dishes. I made cards for: soups, snacks, main courses, salads and desserts.


Downloadables:
- Printable version (pdf)
- Font I used in words "Przepisy" i "Desery"
- Font I used in word "Przekąski"

In the next tutorial: more experiments with oilcloth
No comments:
Post a Comment