"Eat your cereal with a fork, and do your homework in the dark."
(Pump Up the Volume; 1990)
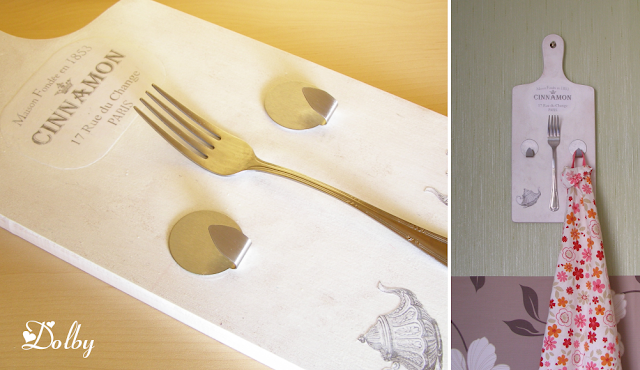
 This photo has inspired me to make cute cutting board hooks as a wedding gift for my bestest friends. Unfortunately, after a lot of effort, I failed - it was impossible to bend my forks without a vice. So I changed the idea a little bit and the final effect you can see above. And for the wedding - it was so... lovely. My friend was the loveliest bride! The food was delicious, the band did a great job with the music, the bride's wedding dress was amazing. They both looked so happy and I was happy for them too. I hope it all was just like they imagined.
difficulty: easy
estimated time: 5 days (because of the varnish layers)
You need:
- wooden cutting board
- a fork
- two hooks
- paint (I chose white)
- printouts of the motif you want to have (you can find some here)
- a small sponge
- Super Glue
- transparent varnish
- a paintbrush

Tutorial steps:
1. Using the sponge paint the cutting board – do it the same way as you apply powder on your face. Paint this way both sides of the cutting board.
2. Apply the first layer of varnish. In places where you want to put the graphics apply a little more. Before it dries, attach the motifs – you don’t need to use glue because the varnish is sticky enough, and at the same time when it soaks through the paper it will be easier to blend it in the structure of the wood. You can also use the transfer technique but the printouts should be a mirror image (you can find some tips on transfers here)
4. Using some Super Glue, glue the fork in the centre of the cutting board. Apply glue at the handle of the fork and near its tines.
5. Stick the hooks and it’s done. Hang the cutting board on the wall screwing it through the hole in the end.
Downloadables:
- Printable version (pdf)
Next tutorial: Jewelery Box finally I hope


No comments:
Post a Comment