

"Winter must be cold for those with no memories..."
(Sleepless in Seattle; 1993)
 Well, winter season is history now but since it looks like a jumper for your phone, I’m used to call it a warmer. You can also call it a phone-case, so it won’t be associated only with cold months. This is a tutorial for those who can crochet, but also for those who want to learn this technique, since the pattern is simple and easy. It uses only the single crochet stitch, which is basic for crocheting and perfect for beginners.
 In >>A vernal hair accessory<< tutorial there are few links, which the beginners can find useful.
difficulty: medium
 estimated time: 45 minutes
You need:
- a crochet hook 2 mm
- thin yarn in your favourite colour
- a darning needle
- small cute button
- a ruler, a pen and a notebook
USD
|
EUR
|
|
yarn*
|
$ 3.99
|
6.25 €
|
a button
|
$ 0.10
|
0.07 €
|
TOTAL
|
$ 4.09
|
6.32 €
|
Tutorial steps:

1. Measure your mobile phone and write down its dimensions (as in the picture below). My phone is 4.5 cm wide, 1.5 cm thick and 9.5 cm long.

2. Using the crochet hook and a yarn, make a chain of length B. You can make a sample square, which will help you to estimate the number of rows and chain length. You can also just regularly „try it on” your mobile phone but you have to remember or note the number of stitches you made or else it will be crooked. My 4.5 cm equals chain of 20 (+1 for turning).
3. Work a few rows with a single crochet stitch. (For beginners: at the end of each row you have to add one chain stitch for turning). The number of rows depends on thickness and height of your phone – it will be a bottom and front side of the case (A+C). After that, add some chain stitches (=C) to widen the work and work the next row altogether. At the end of this row, work a few (=C) single crochets in the last stitch.

4. Work the next rows, till it’s as long as the length of your phone (A). After that, work some slip stitches, as many as you added before (=C), then work single crochets again and end the row a few stitches earlier (=C). If you’re confused (what I’d fully understand ^^”), just look at the scheme above.
5. The last stage is making a securing flap - it should have the length of 2⁄3 of the dimension labeled as A. Therefore, we continue with a single crochet stitch. Two rows before the end of our work and 0.5 cm before reaching the centre of the row, make 4-5 loose chain stitches, put it back 4-5 stitches away and continue working single crochet. You’ve already made a buttonhole! The next two rows work normally, including the loose chain. Finish your work with a strong knot and cut off the yarn.
6. Take the darning needle and sew the edges of the case together, leaving the securing flap loose.
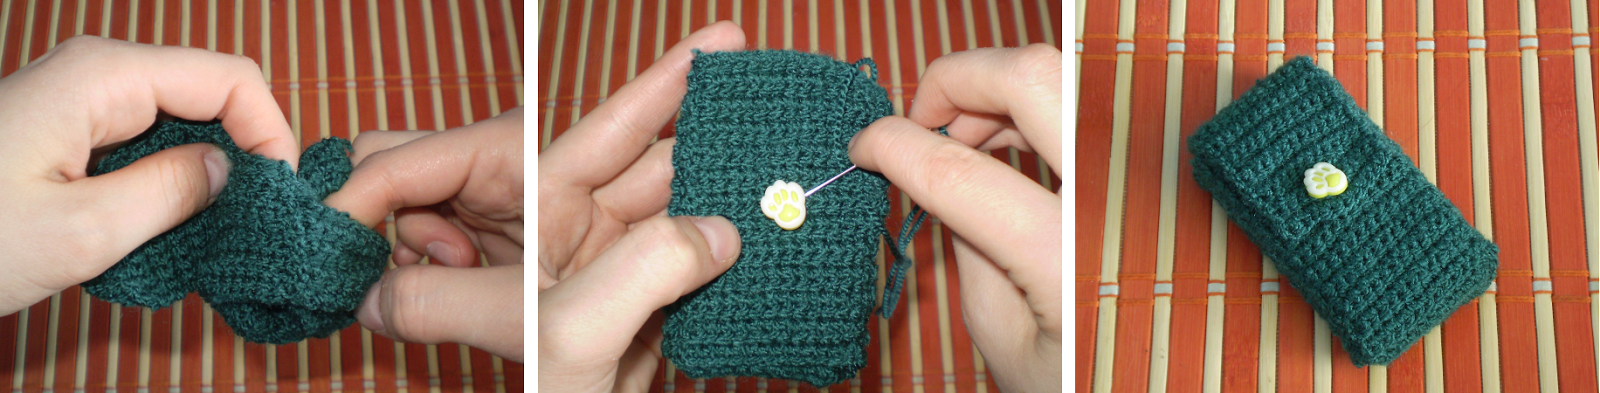
7. Turn it inside out, to hide the ends of the yarn. See how far your buttonhole reaches and saw the button there.
It’s done!
Downloadables:
- Printable version (pdf)

Next week: Brotherhood of Nod Keyring
No comments:
Post a Comment